Set up in a workflow:
Approvals can be seamlessly integrated into automation. The process involves configuring approvals through the workflow settings page, allowing them to be an integral part of task automation. Furthermore, these approvals can be set up for either a team/project or a specific user through the workflow designer page. This way, the system caters to different needs and scenarios, making the workflow more versatile and efficient.
We have ensured the flexibility to include approvals using the task sidebar even after setting up a task. You can easily add approvals by selecting the appropriate icon in the task assignment section. Additionally, the flow element grid also allows for the straightforward addition of approvals to the task. This dual approach offers users multiple options to incorporate approvals into their tasks, making the process more user-friendly and adaptable to their preferences.
How can we add approvals in a workflow:
Here are the steps to add an approval using the workflow settings page:
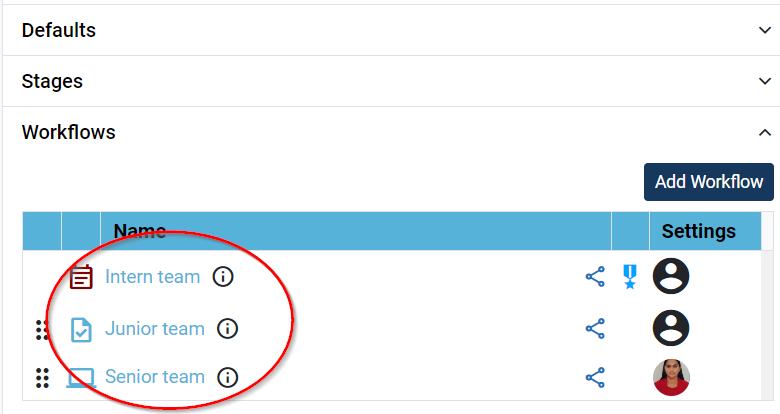
Navigate to the settings page of a Team.
Choose the desired workflow where you want to set up an approval, as shown below in the image:
Click on the “Flow Element” button.
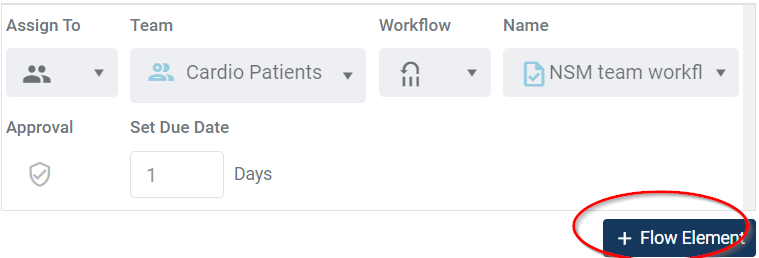
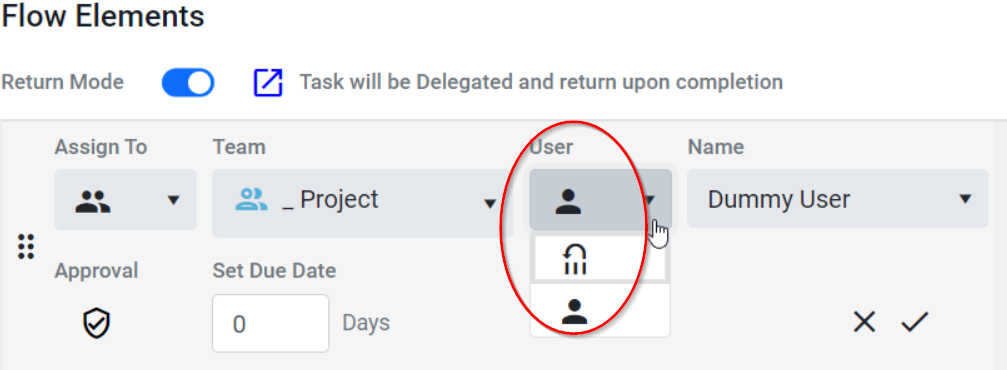
You can choose a user or a team/project icon from the dropdown (1). By default, the team/project icon will be automatically selected.
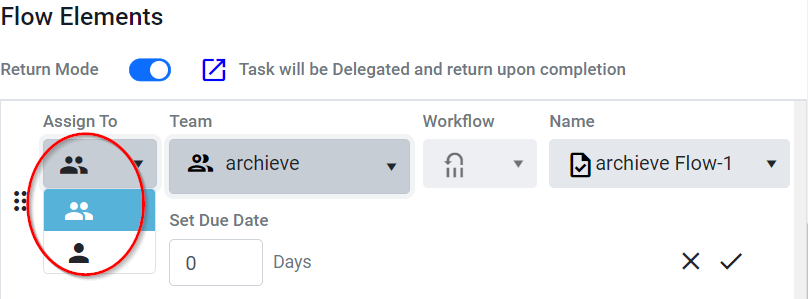
If you opt to select the team/project icon from the dropdown (1), the first team/project listed in alphabetical order will be automatically selected in the dropdown (2) as shown below in the image:
If you are a member of the team selected in the dropdown (2), then the dropdown (3) will display both the user and Workflow options accordingly as shown below in the image:
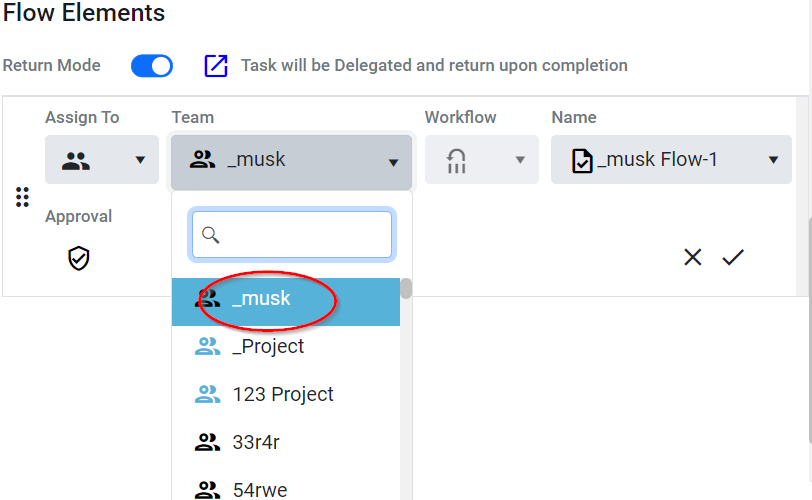
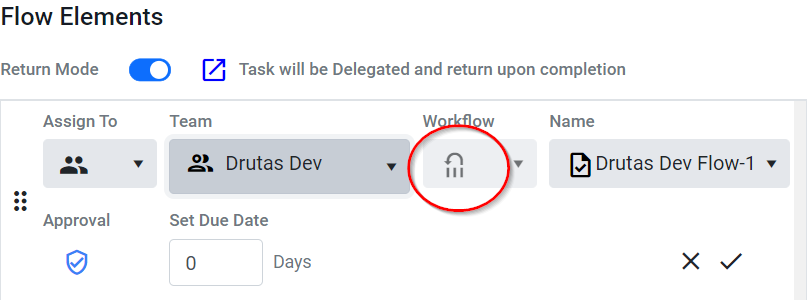
If you are not a member of the team selected in the dropdown (2), then the dropdown (3) will display only the workflow icon as shown below in the image:
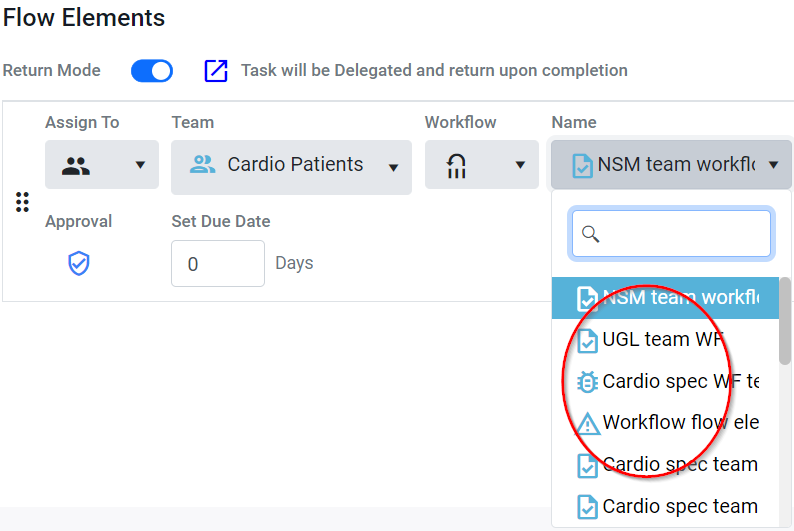
Dropdown (4) will offer you the option to choose from all available workflows, regardless of whether they are in your personal project (My Task) or belong to a team/project as shown below in the image:
- Once all the dropdown have been selected, you can now select the approval icon provided in the grid and as highlighted below:
![]()
When you add an approval using the workflow designer page, it will be shown in two places: the task route and the flow elements grid on the task sidebar. This ensures that the approval status is visible and accessible from different parts of the task management system.