Set up your domain:
You have the option to either self-register for Drutas or accept an invitation from the administrator to join. Creating an account is simple and free, whether you’re want to join as a user or an admin user. The process of creating an account on Drutas is designed to be user-friendly, simple, and, importantly, free of charge. Whether you’re joining as a regular user or an administrator, the signup process is streamlined to ensure ease of use for all individuals involved.
You will be asked for your name, email address, organization if known and password to set up the account.
After setting up the account, you can proceed to establish a Workspace, connect Projects and Teams, and commence task allocation to resources.
Create a Workspace:
Create a new team to begin collaborating with your team in an organization. You can do this from Teams button and clicking the Add Teams button. Fill out all the fields in the pop-up window and click save. By default a team will be created as a closed team. Privacy settings can be changed from the project tab of the team settings page.

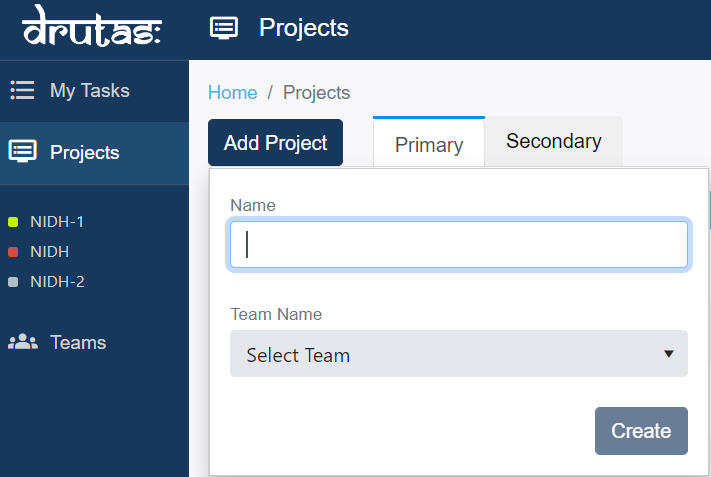
Create a project:
Creating a new Project is just 2 steps away. You can create a new project and add a team to it. You’ll then be able to fill in your project details, members, and set up your privacy settings. A project will be marked as a closed project upon its creation.
Drutas Tip – deleting a team will also delete all of its projects, including projects that have been marked as private that you may not see.