How to manage your organization:
In the initial account setup where you want to create a new organization, you’ll be asked to provide your organization details. The organization and registered names will be prefilled, but you can choose to change both. The organization name, visible within the application, can either stay identical to the registered name or be modified as per your choice.

A default logo is provided, but you have the option to replace it. This is the same logo that you will be seen during the initial organization setup. Note that removing the logo will automatically restore the default logo, making it non-removable.
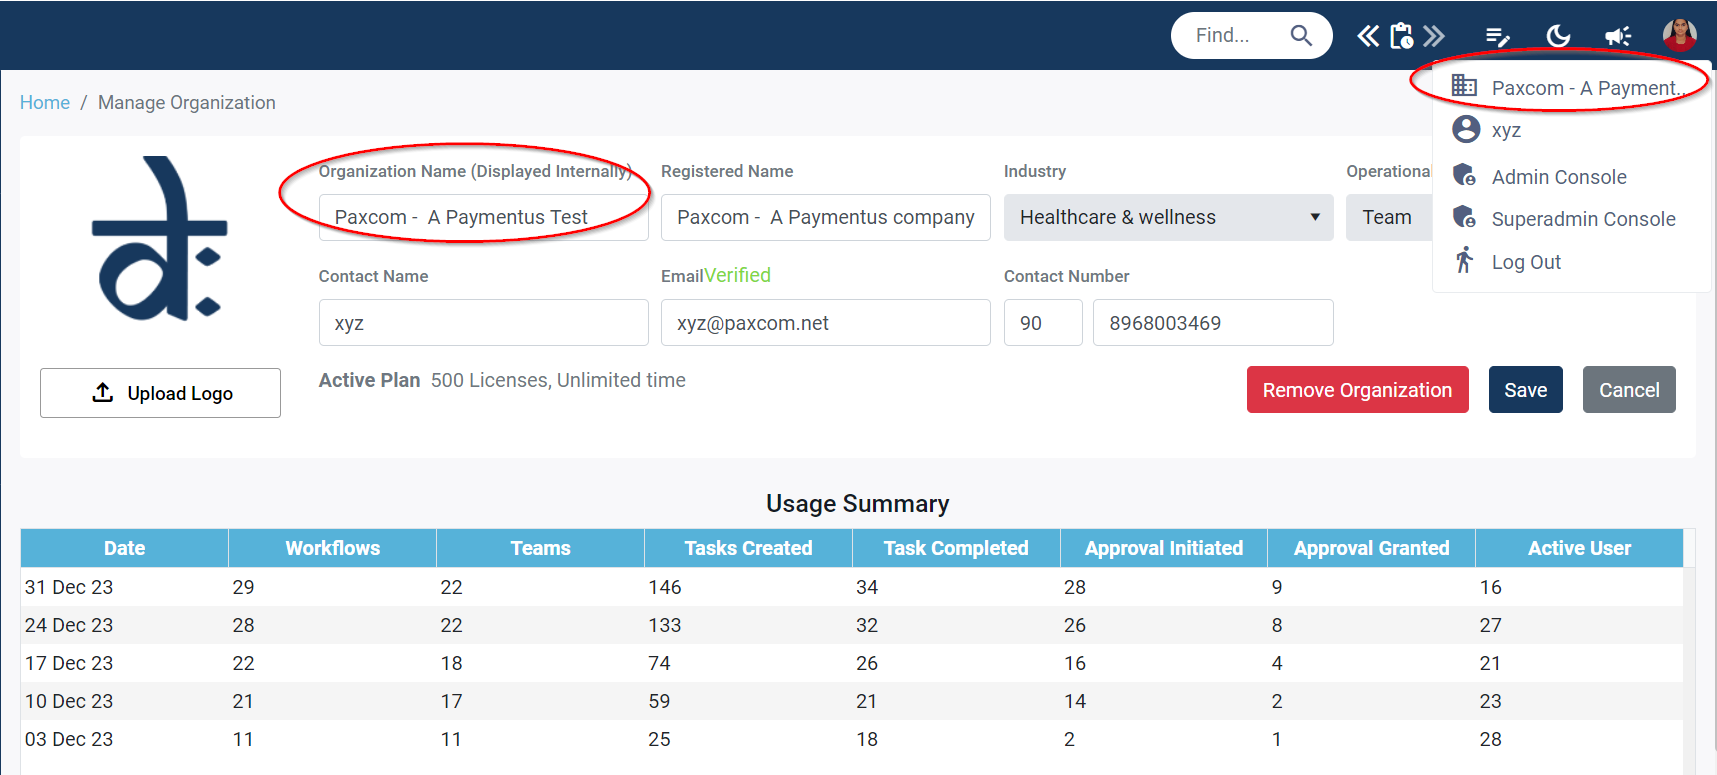
You can access Admin Console icon from the top right that will open the Manage Organization page, you can also access Manage Users page, Usage Summary, Cloud Storage, and User Activity Log page.
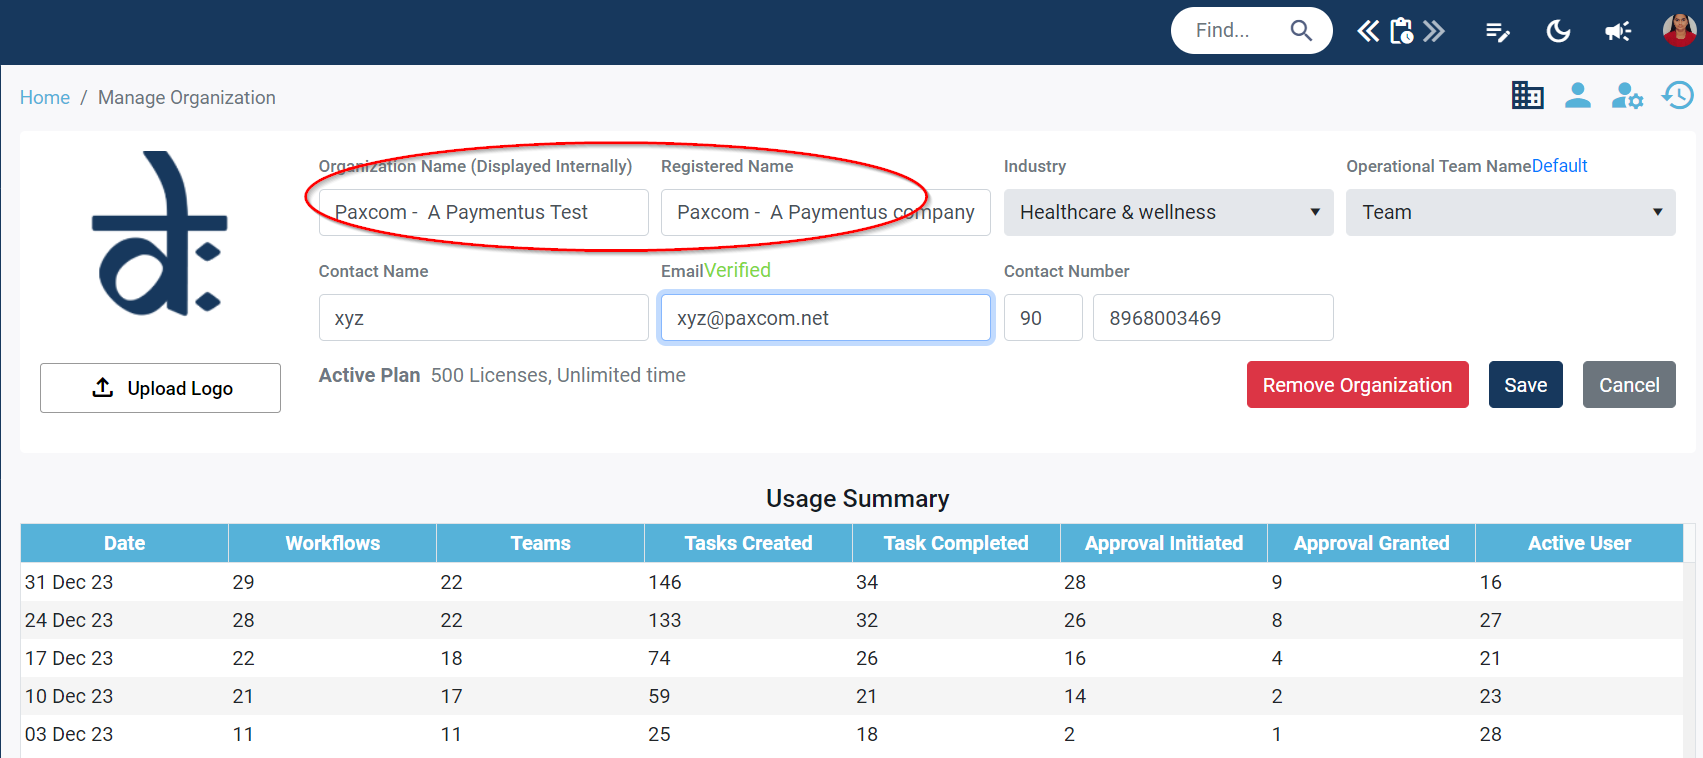
Manage organization page allows user to change the organization name and registered name.
Organization and Registered name: the name of the “Organization” set up during the ID creation process will be visible in the initial tabs labeled as “Organization Name (Displayed Internally)” and “Registered Name.” Should any modifications be required, a user-friendly option is provided to alter the organization or registered name.
However, the “Organization Name (Displayed Internally)” will be visible in the profile setup as shown below in the image:
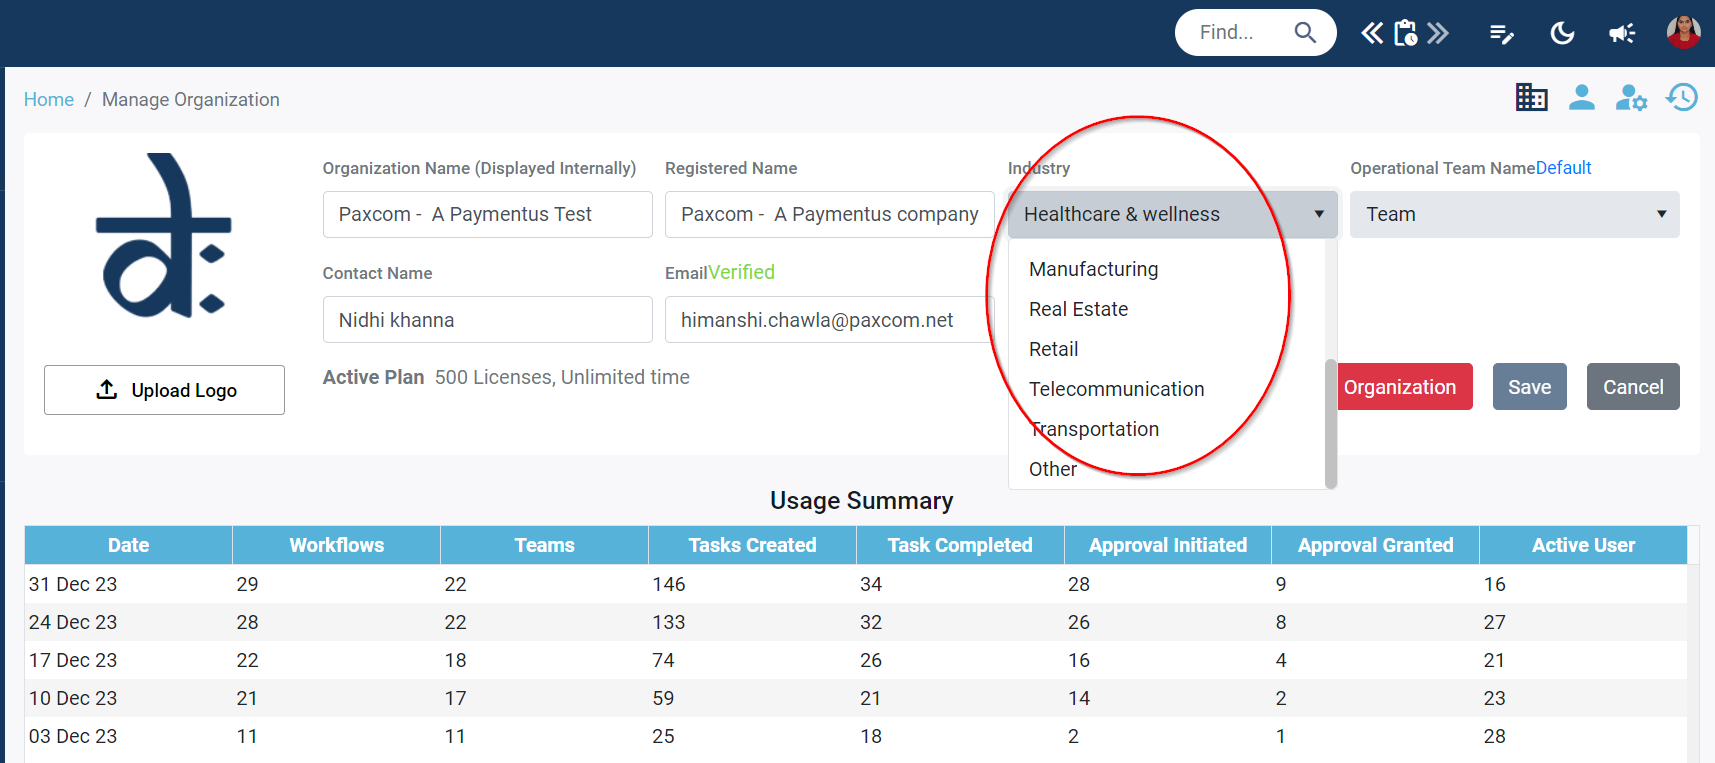
Industry: users can select their industry from 12 options representing the work conducted within their organization. This choice will be presented during the account setup, and the chosen industry type will be visible in the admin console page under the industry type section. Clicking the dropdown menu will reveal a selection of available options If none of the options match, an “Others” choice is available. You can then specify your industry in the custom options label.
Operation Team name: the default operational team name is “Team.” You can choose from the dropdown options, such as Project, Group, or Custom. Opting for the Custom option allows you to assign a name of your choice. This modified team name will serve as the primary heading for the teams across the application, as shown below in the image:

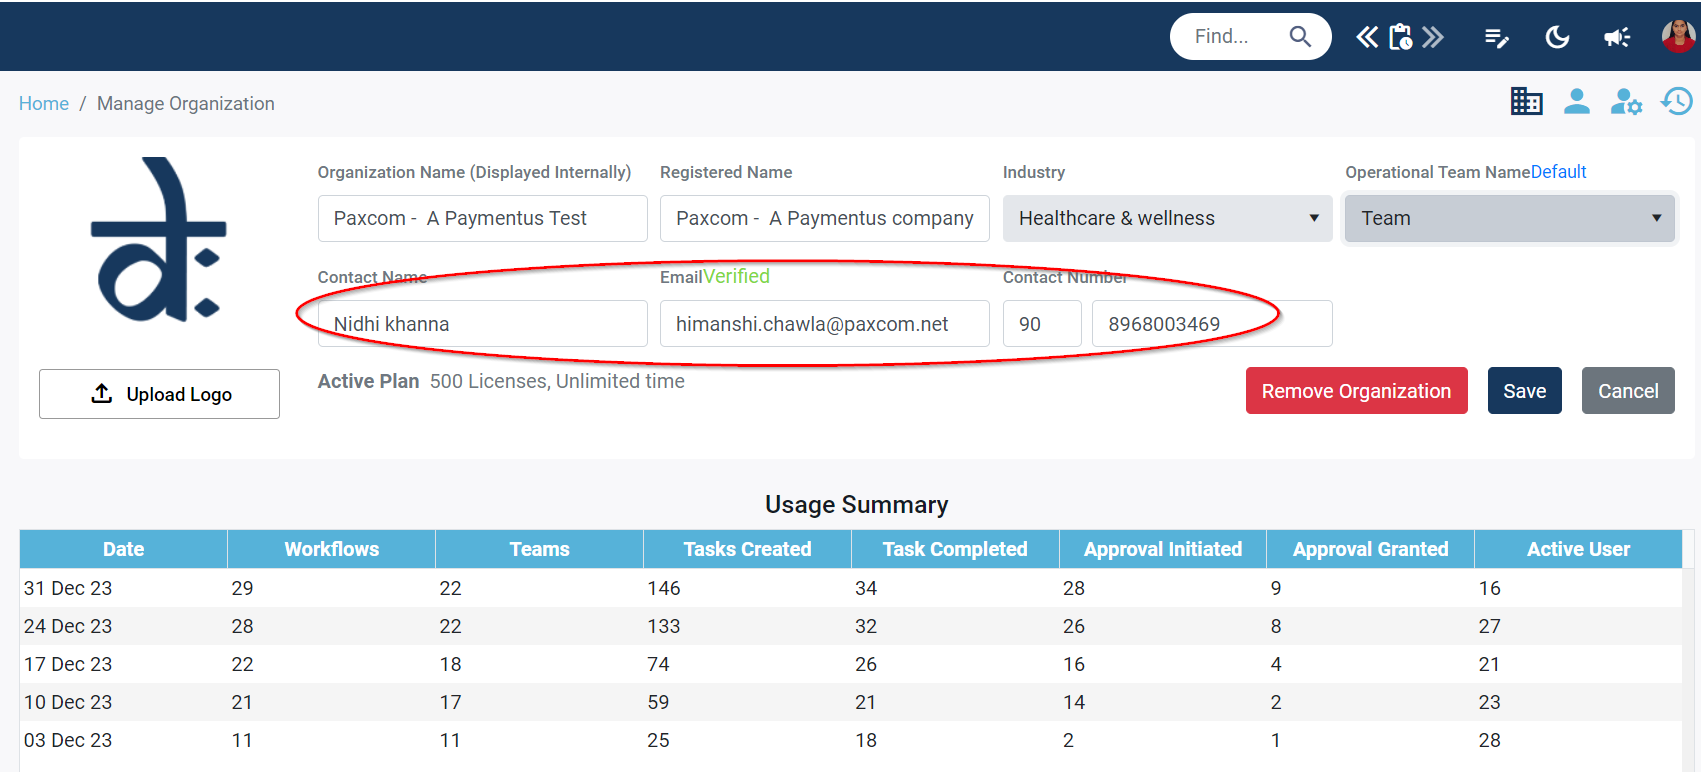
You can set the contact name and make changes at your convenience. The email displayed during account setup can be modified and verified as per your preference. Additionally, you have the option to set up your contact number on the same page.
Time Zone:

Quick Links:
Apart from setting up the above settings, you can also access Collab Central, Tags page, and follower mail interval can also be set up using this page.